
Rio Grande Path
 I looked like an absolute goober while taking this picture, but I am pretty happy with what popped out. The lighting was fun to play with on this one, while still being a pain in the backside due to the shadows on the right. Overall, I enjoyed taking this photo as it was a nice time to play with focus and bring out some more dynamic elements of this scene. In this post, I’ll talk about what I did in my photo editor and what I would have done better in the field.
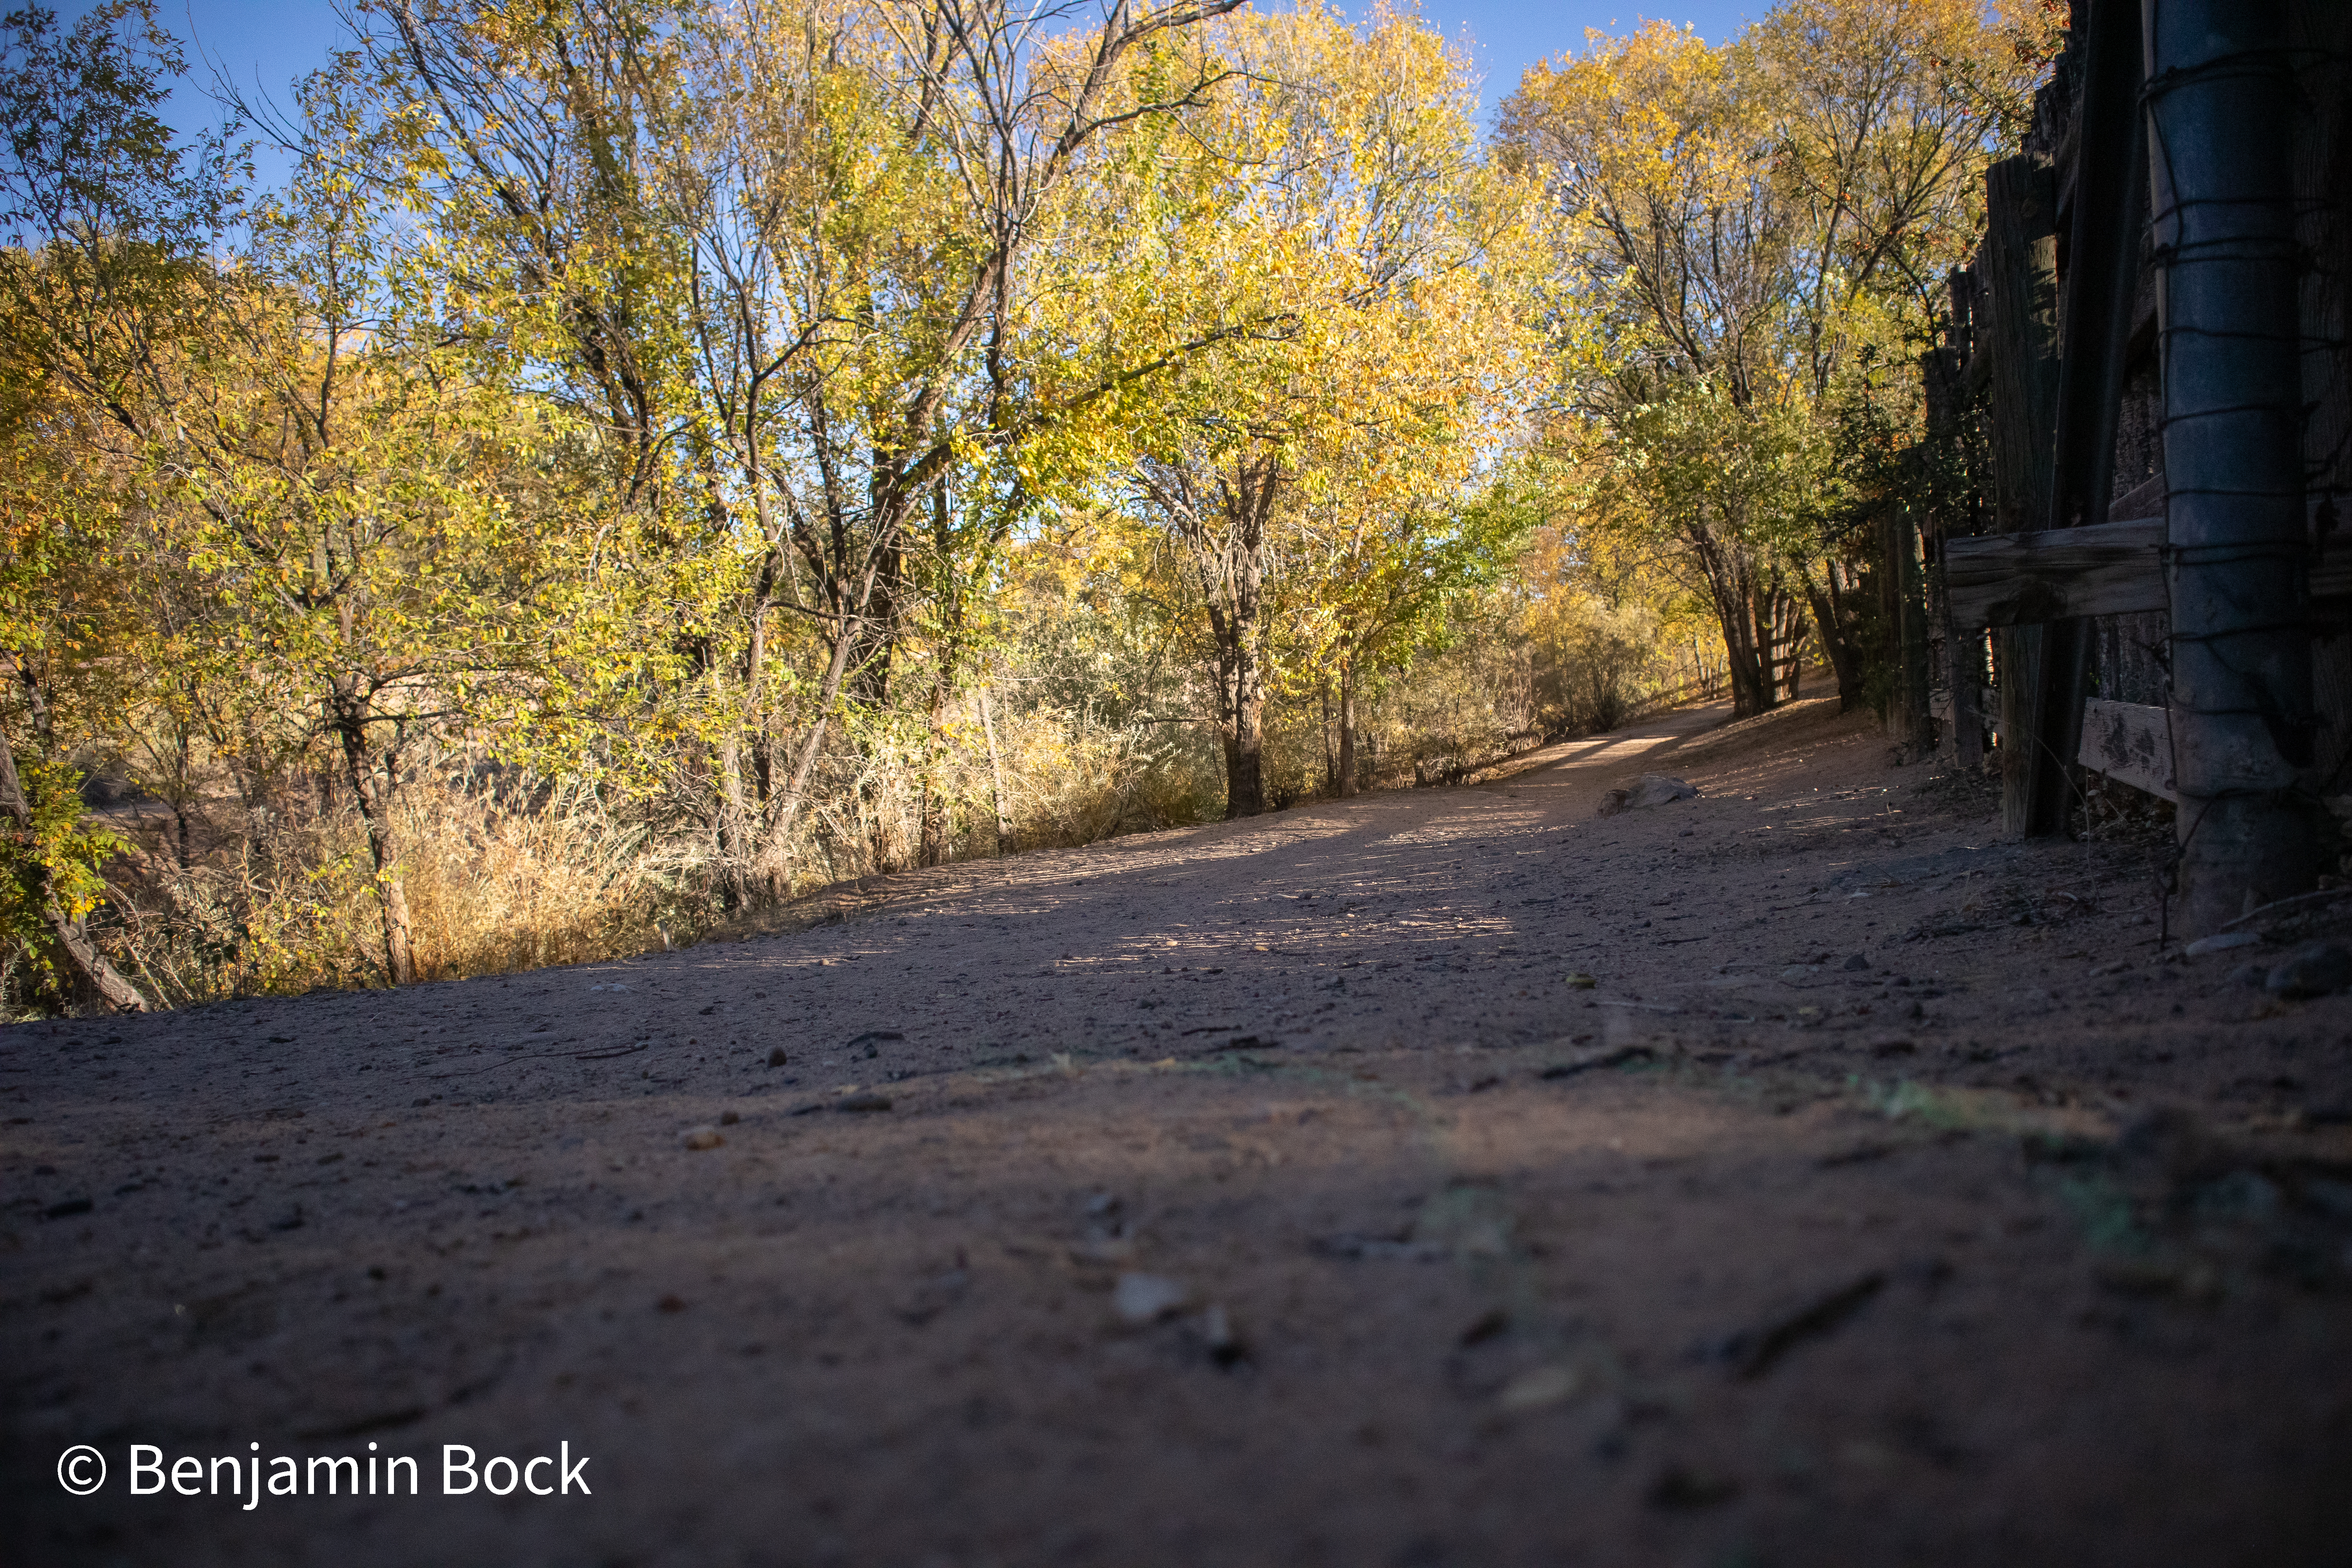
This photo was taken in the same session as the Reeds image, so my goal was the same: have a good time in nature while not doing school. I found this path at the start to what seems to be a longer horse trail to the East of the Rio Grande, just off the Alameda Open Space. I wanted to capture the ground in contrast with the sky and tree, especially as they began to turn to fall colors. But, the shot didn’t quite turn out the way I wanted it to right out fo the camera.
I have thought for a while that the best kind of images were those that needed no after-shoot work, that I would be able to take quality images without the need for any computer intervention. In the majority of my previous pictures I was able to do some light touchup in Adobe Lightroom and let the camera and scene speak for itself. However, this was not the case for this image. My happy-go-lucky attitude would land me with a load of different sliders to play around with and so many little eye icons to click on.
Now, it should be noted that I had made the more critical mistake of setting expectations for the shot before assessing the way the camera was reading the land. Nevermind the larger implications of that on my artistic process and what it means in the capture of a natural world: the shot was too dull, too dark, too bright, off-white, and it needed to be fixed! So, off to Lightroom, but this time with some “advanced” drop down menus activated.
Ultimately, I ended up more or less fixing the things that needed to be fixed (mind you, “fixing” is all arbitrary in this context, it’s art, or rather, nature captured). I started by raising the exposure to bring out some of the intimacy of the ground, then I adjusted the highlights and shadows so the shot wasn’t blown out. Next, I worked on the color, adjusting saturation and what Lightroom calls “temperature” (it seems to be the amount of emphasis put on ice or fire pallets). This allowed the trees to pop a bit more and the colors of the lower half of the picture to be more full-bodied. Finally, I worked with the sharpening a bit to ensure that everything that came through my retro Nikon 50mm (more on that in another post soon) was as crisp as posable.
I’m pretty happy with this image, and my software certainly impressed me. However, I do feel that there is value in slowing down to ensure that your camera is capture the most accurate representation posable. I could have spent more time with the contrast, angle, and lighting in general. As I moved forward I did tend to spend more time with my shots, especially in choosing when to capture a scene.